
Friday, December 13, 2013


Friday, August 9, 2013
Custom arm for dial indicator
This arm is made from 1/8" brass rod. It sits around the top of the closing shim and facilitates the checking of the valve movement when doing cam timing.

Wednesday, August 7, 2013
Closing shim fully seated

Note: 4V engines only.
Sunday, June 30, 2013
Carbon Fiber Work
Here's a ambitious project I attempted a while back, but have decided to put on the back burner for now. It is very time consuming and difficult to master, but I'll get back into it someday, probably when I retire from my "real" job!!
Sorry for the link--please copy and paste-
https://sites.google.com/site/tricklidzsm/carbon-fiber
Sorry for the link--please copy and paste-
https://sites.google.com/site/tricklidzsm/carbon-fiber
Friday, June 28, 2013
CAMS AND CAM TIMING
Found a good article on this stuff--
http://www.compcams.com/Pages/416/valve-timing-tutorial.aspx
http://www.compcams.com/Pages/416/valve-timing-tutorial.aspx
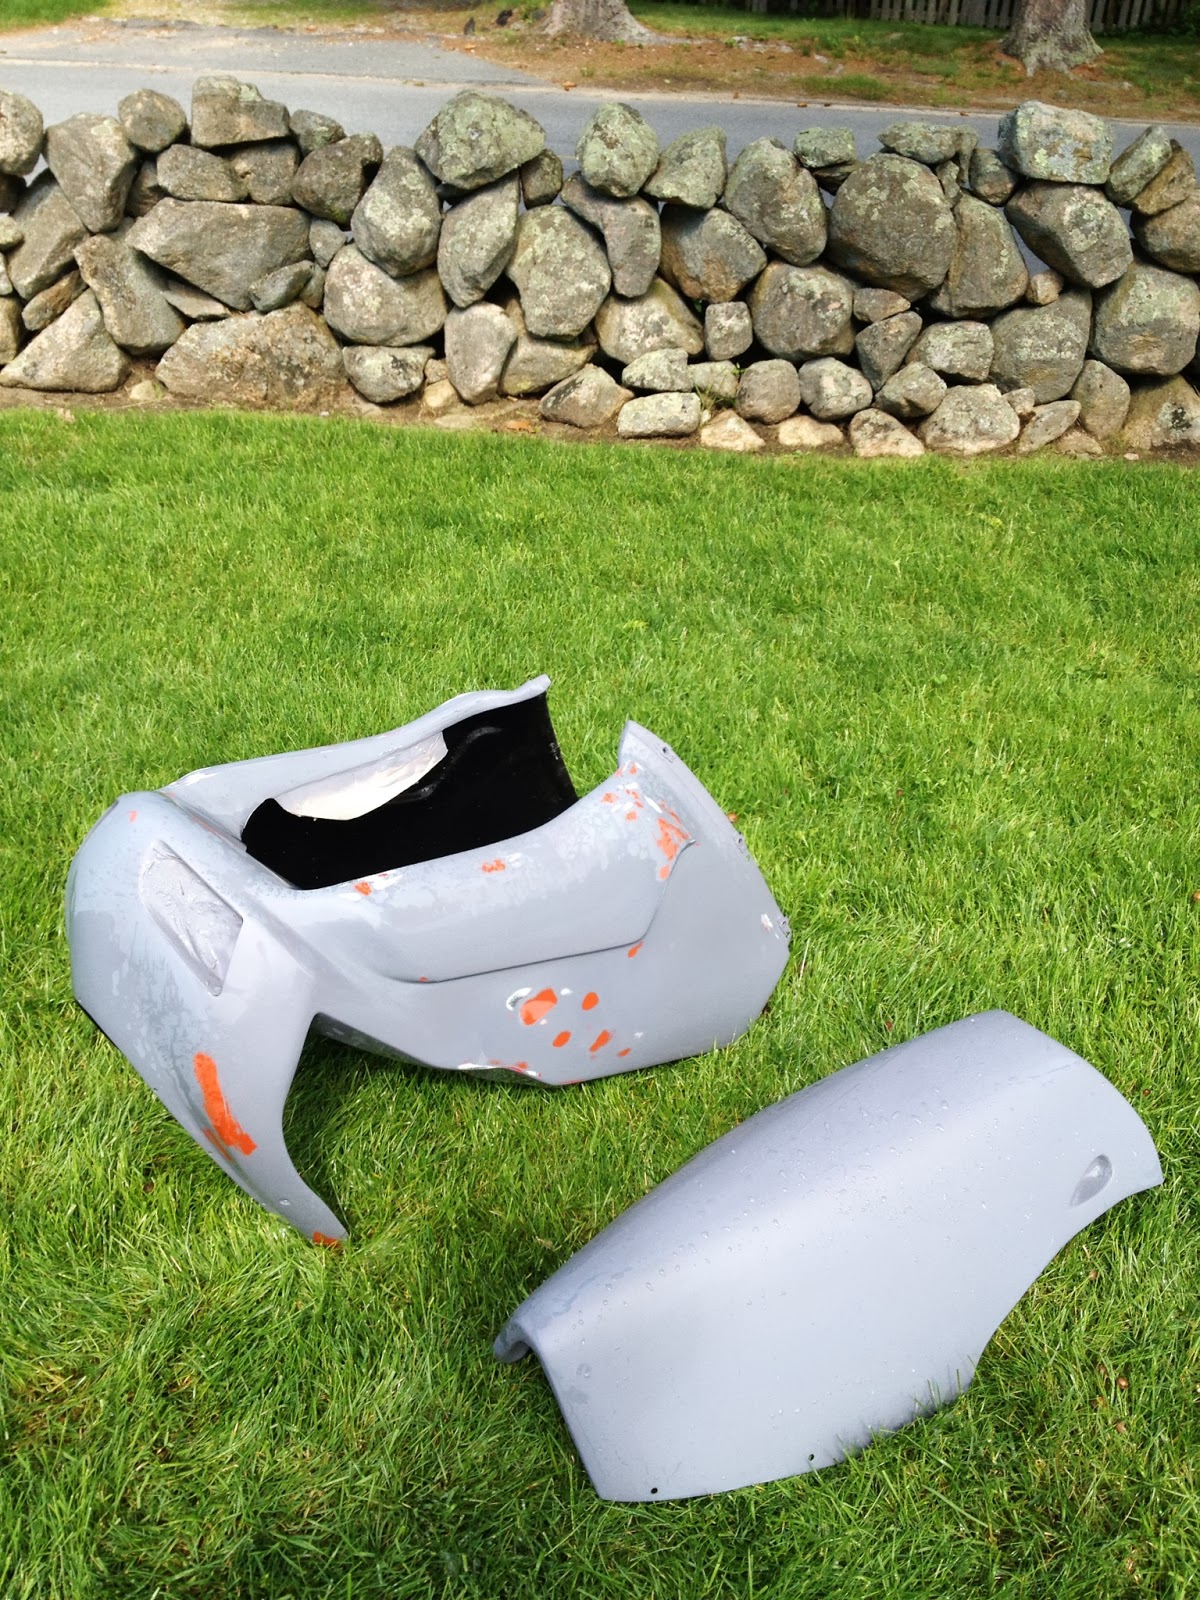
Wednesday, June 19, 2013
Bodywork repair-round 4
After my high side in the rain last year I had to retire the flat gray bodywork as seen above, because the tank was so severely dented on top from my shoulder!! (Got a nice deformed right shoulder now too... Oh well)
I bought a used red tank and multi colored bodywork but only the tank was up to my standards, so I decided to put some old rashed ArmourBodies stuff I had from another crash. It needed a lot of work as the crash had left some pretty major through holes, mostly on the left side.


I did this by first drilling the hole through the fairing a little larger than the outside diameter of the head of the Dzus pin, then I layered up small sheets of Fiberglass mat, Kevlar cloth and Carbon Fiber to make up the thickness of the pin. Next I drilled through the exact center of the larger hole through the new pieces for the pin. Now the fairing is reinforced with cf and Kevlar at the mounting points (I also reinforced all the other mounting locations of the bodywork as well as where impact zones are- like the location of the underbody sliders, with Kevlar!)


I then wet sanding with 240 grit paper bringing the filler down to the surface, and sprayed another couple coats of primer.
When I was relatively happy with the results, I sprayed more primer in the bare spots then wet sand with 600 grit.
I've decided to leave the bodywork primed for my first track day and paint it red when I have more time and my makeshift paint booth set up.
 Note the recessed areas for the air scoops where I masked off the red painted parts, this area is a pain the sand and because it had no damage I decided not to repaint it.

Monday, March 4, 2013
BREMBO MASTER CYLINDER INFO

Some random information on Brembo clutch and brake master cylinders. The sheet above contains some notes I made while researching which Brembo masters I should use. I originally started with a 19X18 clutch and 19x20 brake.
I quickly realized the clutch master gave too heavy a pull so I got a 16X18 which along with a larger diameter slave cylinder resulted in a low effort pull of the lever. This combo makes it almost effortless disengaging the clutch. Highly recommended!
The 19X20 brake is also the ideal setup. Easy enough effort, good modulation and moderate lever travel. The only reason I went with the RCS 19 this year is because I wiped out the nonadjustable one in a crash. The RCS can be changed from a 19X18 to a 19X20 by removing the small rubber plug in the forward facing position on the lever (which is folding) and turning a small screw. I haven't experimented yet with the two options but will report here when I have.


