Made a more permanent mount for the gear indicator and shift lights.
Started work on a battery tray. I just don't know if I want to dive into the mess that's behind the OEM battery tray!! I've had it off once before and it wasn't pretty!!!
The Tricklidz Blog
▼
Wednesday, January 20, 2016
Safety wiring
Call me strange but I actually enjoy safety wiring.....I find it relaxing
Drilling the holes is a lot easier with this sweet setup.
I use some steel V blocks and a portable vise on my drill press. The blocks hold the bolts securely off the end of the vise without damaging the threads. I drill four holes (two cross holes can be drilled in regular bolt heads) in the allen head cap screws. Oil helps keep the 1/8" drills bits cool.
The blocks will accept different diameter bolts.
The caliper bolt heads are tapered but can still be drilled.
Rusted caliper bolts
My caliper bolts have begun to rust so I removed them and cleaned them up.
Rusty one on right, left one polished.
I used my new Eastwood buffer and a two step process to easily shine 'em up.
Here's how I safety wire my caliper bolts.Get the clips from KurvyGirl. (Google it)--nevermind. Did it for you.....
https://www.kurveygirl.com/shop/
Ooohhh..shiny!
Rusty one on right, left one polished.
I used my new Eastwood buffer and a two step process to easily shine 'em up.
Here's how I safety wire my caliper bolts.Get the clips from KurvyGirl. (Google it)--nevermind. Did it for you.....
https://www.kurveygirl.com/shop/
Ooohhh..shiny!
Front stand part two.
The neat-o flashy aluminum stand that took me two weeks to design and build didn't quite work as advertised. The wheels weren't in line and the front arms were different lengths so the front wheel turned to one side when lifting. So I did something stupid and put it in the vise and pulled it to try to straighten it....and.......BAM....it cracked at the weld in the handle!! Oh well....I'll try again some other day.
So for the time being I modified the arms of my existing stand to work with my homemade spools. The upside is I can reverse the arms in the holder so that I can use the pins that sit under the forks to remove the axle.
Well I dedicated some more time to the aluminum stand and after a lot of modifications, cutting and a shit load of Tig welding I've got the stand to work fairly well. It's not perfect but it's OK.
Here it is...
Rear facing camera mount
GoPro mounted facing rear. This gives a nice shot of the tire and good sound from the exhaust.
That's an aluminum plate above not a mirror----I polished the heck out of it because I find it's important to have a smooth flat surface for the self stick 3M pads that the camera makers supply.
All bolts, brackets, cameras and safety wired and/or attached with landyards.
Front camera mount
Drilled an oblong hole in the front fairing.
Here's the Contour Roam camera mounted up.
Side view poking through the fairing....
Inside view.
I made a few more mods and painted everything black.
Saturday, January 9, 2016
HOMEMADE SPOOL/SLIDERS AND STAND
This project answers the questions from friends who always ask- "What the heck are you doing down there?"
I decided a great way to practice my welding, bending, notching, machining and polishing skills would be by designing and fabricating a front spool/slider and stand combo. And as usual it required the purchase (and gift) of some new tools and a whole lot of time and effort!!
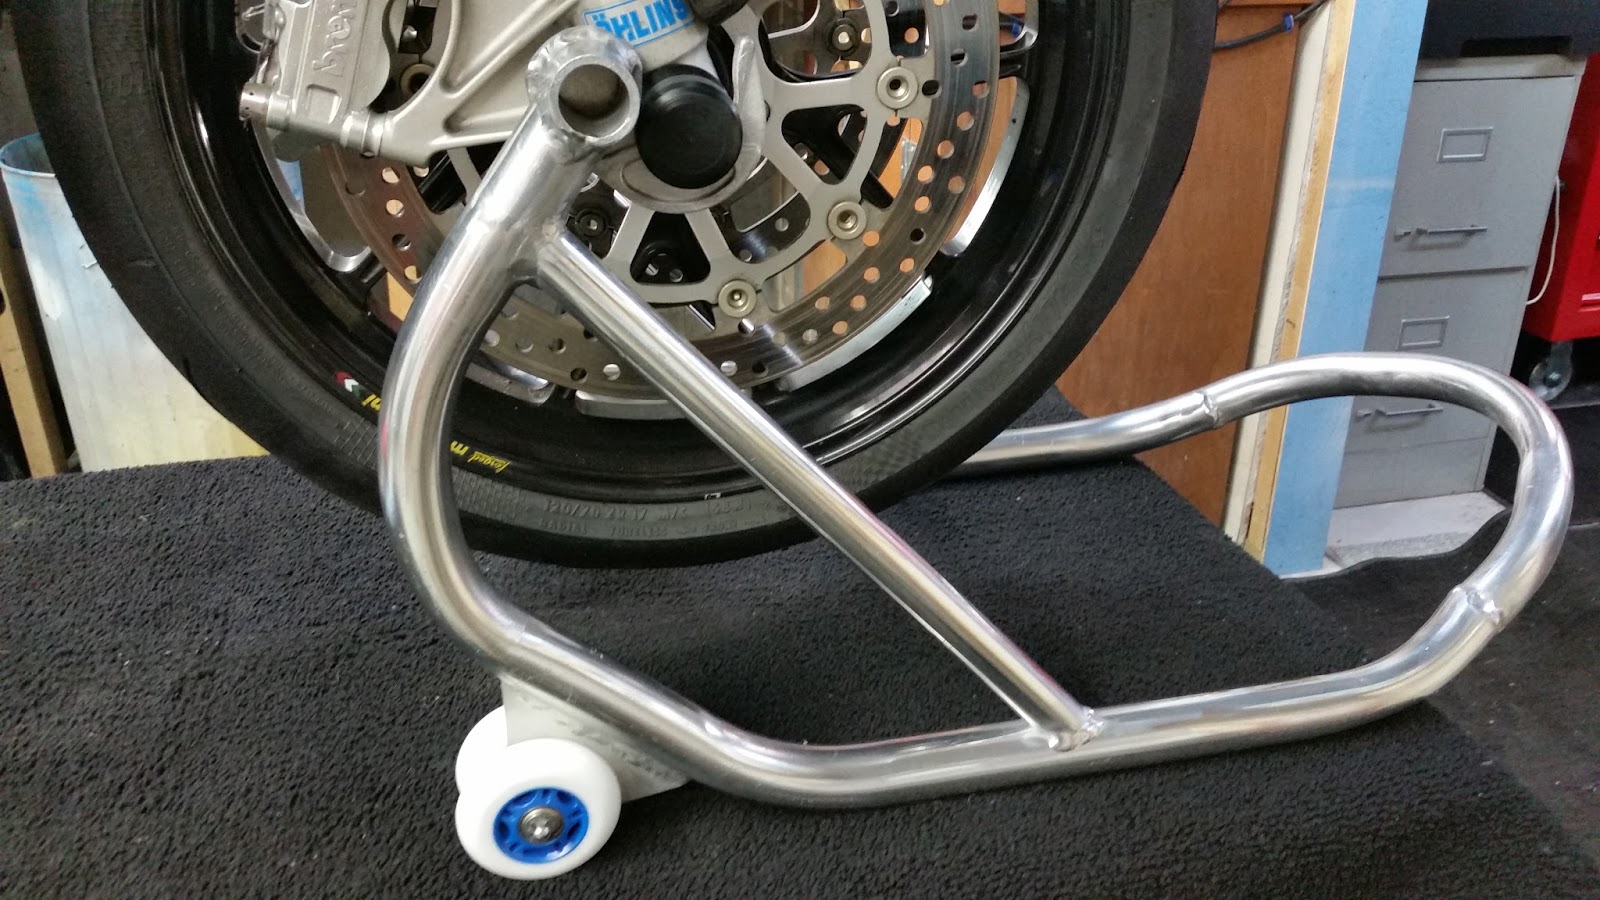
Below: the finished products.
The stand is all hand polished aluminum- 1.25 and 1.00" tube.The hook is cast aluminum from the junk pile.
The wheels are 3" Razor scooter wheels off Ebay.
The design lifts the front via the spools making them easier to locate than finding the recesses on the bottom of the forks like other stands.
I found a website online that has a program to cut paper patterns that are transfered to the tubes for marking the notches. This saves a helluva lot of trial and error.
I machined the sliders from 2" Delrin stock. They are a press fit and include a cut down area for the stand and relieved to cover the axle nut.


